


Featured ChoiceSave 13%
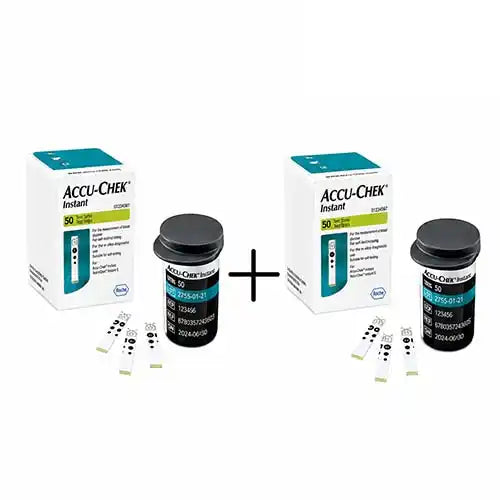
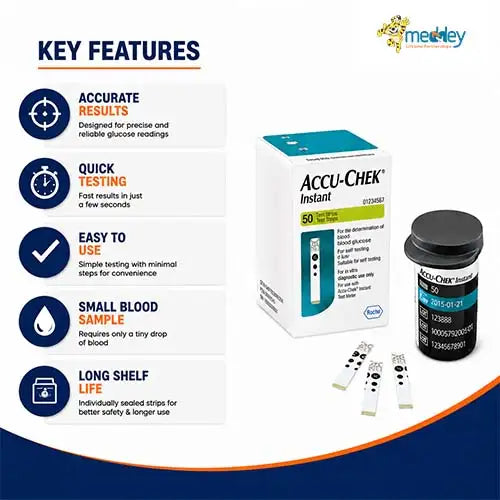
Save 8%
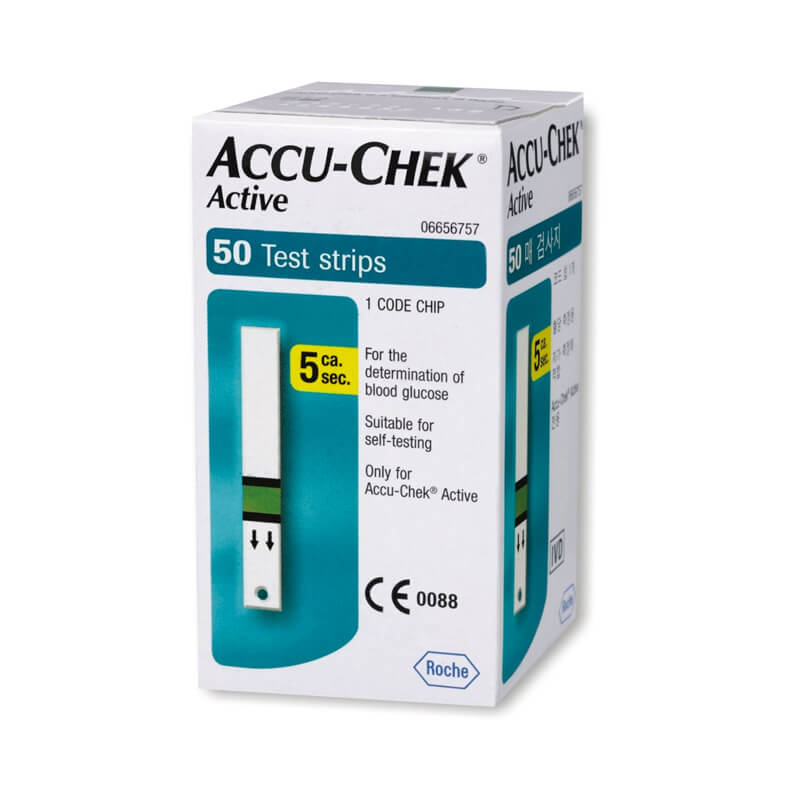

Save 8%
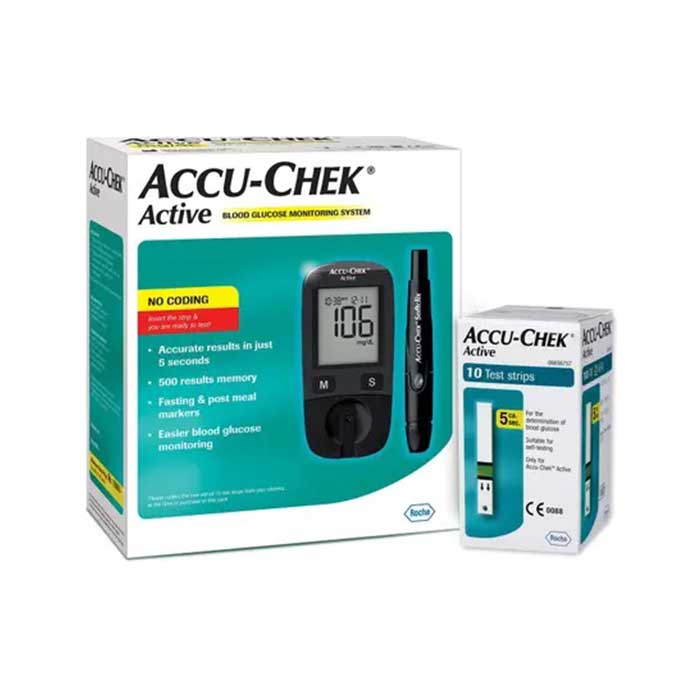

Save 9%
Glucometer Basics: Beginner's Guide to Blood Sugar Monitoring
Understanding Your Glucometer: A Beginner's Guide
Glucometer use depends on glucometer accuracy, glucometer strip compatibility, glucometer technique, glucometer storage, glucometer cleaning, glucometer readings, glucometer logging, glucometer supplies, glucometer timing, glucometer maintenance, glucometer follow-up and glucometer interpretation. A consistent glucometer routine helps users compare results and discuss patterns with their healthcare team.
A glucometer is a small device that helps you check the amount of glucose, or sugar, in a drop of blood. For someone managing diabetes, learning to use a glucometer turns day-to-day guesswork into practical information: how meals, medicines, activity, stress, and illness may be affecting blood sugar. This beginner-friendly guide explains what a glucometer does, how a blood sugar monitor works, how to use test strips safely, and how to make sense of common readings without treating the device as a replacement for medical advice.
What is a glucometer used for?
A glucometer is used to measure blood sugar at a specific moment, usually with a small finger-prick blood sample placed on a compatible test strip. People with diabetes may use a glucometer to see whether their blood sugar is within their personal target range, to notice patterns after food or exercise. Also, To share readings with a healthcare professional. The FDA describes a blood glucose monitoring device as a system that includes a handheld meter and test strips used to measure glucose in a small blood sample. Also, The CDC notes that monitoring blood sugar is an important part of diabetes management.
You may also hear the same device called a blood sugar monitor , glucose meter , blood sugar tester , sugar checking machine , sugar testing machine , glucose level checker , or blood sugar machine test device. In everyday conversation, people may say they are doing a sugar machine test when they mean checking a reading with a glucometer. These names can be confusing at first, but they usually point to the same basic idea: a portable tool that estimates the glucose level in your blood sample.
A glucometer is not meant to diagnose diabetes by itself. A healthcare professional should make diagnosis and treatment decisions using laboratory tests and your overall health picture. Home readings are still useful because they show real-life patterns between clinic visits, especially when you record the time, meal, medicine, exercise, stress level, or symptoms that may have influenced the result. NIDDK notes that diagnosis requires a lab test and that meter results are not suitable for diagnosis.
Glucometer Kit: Meter, Test Strips and Lancets
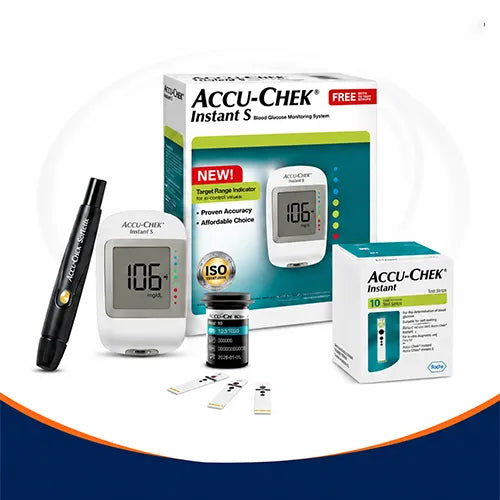
A typical glucose testing kit includes a meter, compatible glucometer test strips , a lancing device, lancets, and sometimes control solution or a carrying pouch. The meter is the reusable electronic device. The strip is the single-use piece that receives the blood sample. The lancet is the tiny needle used to prick the skin, and the lancing device helps control the depth and quickness of the prick.
The most important beginner rule is compatibility. Glucometer strips are not universal, so strips made for one meter may not work with another. If you buy a new meter, confirm the exact strip model it requires, how many strips are included, and whether replacement strips are easy for you to find. A low glucometer price may not be the best value if the strips are expensive, difficult to buy, or frequently out of stock.

The meter
The meter displays your blood sugar result after it reads the reaction on the test strip. Many meters are simple: insert a strip, apply a drop of blood, wait a few seconds, and read the number. Some meters store past readings, mark fasting or after-meal results, or connect to an app. These features can be helpful, but the basics matter more: clear display, reliable strip supply, easy handling, and instructions you can follow consistently.
The test strips
Manufacturers design test strips for specific meters and treat them with the chemicals needed for glucose measurement. The FDA advises buying new, unopened test strip vials and warns against using pre-owned test strips, because safety and reliability may be affected. Moisture, humidity, or extreme temperatures can damage test strips. Keep the container tightly closed and follow the manufacturer’s storage instructions.
The lancing device and lancets
The lancing device holds the lancet and helps you get a small blood drop. Many devices let you adjust depth, which can make testing more comfortable. A shallow setting may work for some people, while others need a slightly deeper setting to get enough blood. Lancets are usually intended for single use; reusing them can make pricks more painful and may increase hygiene concerns.
Control solution and logbook
Some kits include control solution, which is used to check whether the meter and strips are working together as expected. Follow your specific device instructions for when to use it, such as when opening a new strip vial, if readings seem unusual, or if the meter has been dropped. A logbook, app, or simple notebook can be just as important as the device because patterns are often more useful than one isolated reading.
How a Glucometer Reading Actually Happens
A glucometer reading begins with a small blood sample, most often from the fingertip. You insert a strip into the meter, prick your finger with a lancet, place the blood drop on the strip. Also, Wait for the meter to display the result. MedlinePlus explains that home blood glucose meters generally require a finger prick, a drop of blood applied to a test strip. Also, A meter that measures glucose in that sample.
Most meters show results in mg/dL in the United States and in mmol/L in many other countries. If you are reading information online, always notice the unit, because 100 mg/dL and 100 mmol/L are not the same kind of value. Your meter manual will tell you which unit your device uses. Also, Your healthcare team can help you understand the targets relevant to you.
No glucometer is perfect. Factors such as dirty hands, expired strips, damaged strips, improper storage, not enough blood, or testing technique can affect results. If a number seems surprising, wash and dry your hands and repeat the test with a new strip, then contact your healthcare team if the reading remains concerning or if you have symptoms.
How to do a sugar machine test at home
Using a glucometer becomes easier once you repeat the same clean, careful routine each time. Always follow the instruction booklet for your specific glucose meter, because details vary between brands and models. The general steps below are meant to help beginners understand the process, not replace your device manual or clinician’s advice.
Step-by-Step Glucometer Testing Routine
- Gather everything first. Keep the glucometer, strip vial, lancing device, lancet, tissue or cotton, and sharps container within reach. This prevents rushing after you prick your finger.
- Wash and dry your hands. Soap and water help remove food residue that could affect the reading. Dry thoroughly because water can dilute the blood drop or interfere with the strip.
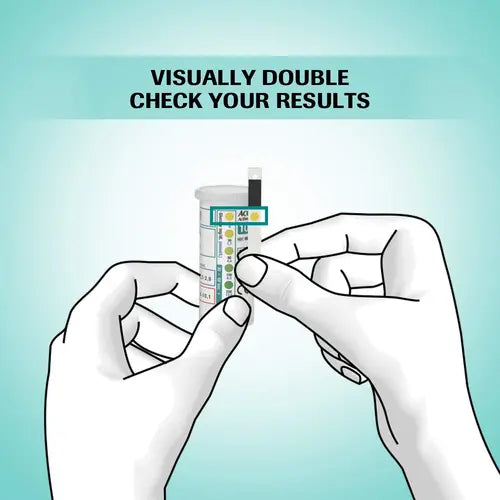
- Insert a fresh test strip. Use the correct strip for your meter. Check the expiry date and avoid strips from a damaged or improperly stored vial.
- Prepare the lancing device. Insert a clean lancet, set the depth if your device allows it, and cock the device according to the instructions.
- Choose the side of the fingertip. The side is often more comfortable than the pad. Warm hands may produce a better drop; the CDC suggests warming your hands before washing them if you have trouble getting enough blood.
Completing the Glucometer Check and Recording Results
- Prick and form a small drop. Gently massage from the base of the finger toward the tip if needed, but avoid squeezing hard because it may affect the sample.
- Touch the strip to the blood drop. Let the strip draw in the blood according to the meter’s instructions. Do not smear blood across the strip unless the manual says to do so.
- Wait for the result. The meter will display a number after it has enough sample and completes the test.
- Record useful context. Write down the reading, time, whether it was fasting or after a meal, and anything unusual such as exercise, illness, stress, missed medicine, or a different meal.
- Dispose safely. Put used lancets in an approved sharps container or follow local guidance. Throw away used strips as directed.
This simple routine supports a more reliable blood sugar machine test . The more consistent your technique is, the easier it becomes to compare today’s result with previous results. If your hands are not clean, your strip vial is left open, or you change test timing randomly, it becomes harder to know whether the number reflects your body or the testing conditions.

What is a normal blood sugar on a glucometer?
For many nonpregnant adults with diabetes, commonly cited target ranges are 80 to 130 mg/dL before meals and less than 180 mg/dL one to two hours after the start of a meal , but your personal target may be different. Age, pregnancy, type of diabetes, medicines, risk of low blood sugar, other health conditions, and your treatment plan all matter. The CDC and American Diabetes Association describe these targets as general guidance for many people with diabetes, not a universal normal for every person.
Glucometer Reading Targets and Context
| When you test | Common target for many nonpregnant adults with diabetes | What it can help you understand |
|---|---|---|
| Before meals | 80–130 mg/dL | Baseline control before food raises glucose |
| 1–2 hours after starting a meal | Less than 180 mg/dL | How your body handled that meal |
| Bedtime | Individualized | Overnight safety and patterns |
| During symptoms | Individualized | Whether symptoms may relate to high or low glucose |
A single number should not be interpreted in isolation. For example, a post-meal reading may be higher than a fasting reading because food raises blood sugar. A reading after exercise may be lower for some people. Illness, stress, missed medication, alcohol, dehydration, and changes in routine can also shift results.
If you are asking, What is a normal blood sugar on a glucometer? , the safest answer is: normal depends on your situation, and target ranges should come from your healthcare professional. General ranges are useful for orientation, but they do not replace a personal plan. If you are pregnant, using insulin, experiencing frequent lows, caring for an older adult, or managing multiple health conditions, individualized targets are especially important.
Low and high readings deserve attention
For many people with diabetes, clinicians consider blood sugar below 70 mg/dL low. Your healthcare team may define a different threshold. Low blood sugar can become serious, particularly for people using insulin or certain diabetes medicines. The CDC and NIDDK both describe low blood sugar below 70 mg/dL as a common threshold for many people with diabetes.
High readings also matter, but the right response depends on your plan. A clinician may advise some people to drink water, recheck later, review meals or medicines, or check ketones in certain situations. Others may need urgent care depending on symptoms and the level. Do not guess at medication changes based only on a blog article or one glucometer result.
Can We Use a Glucometer Daily?
Yes, many people can use a glucometer daily if their healthcare professional recommends daily testing. Also, Some people need to test several times a day. Others, especially some people with type 2 diabetes managed without insulin, may not need daily testing. Mayo Clinic notes that testing frequency depends on the type of diabetes and treatment plan; people with type 1 diabetes may be advised to check many times daily. Meanwhile, Some people with type 2 diabetes who do not use insulin may not need daily checks.
The question Can we use glucometer daily? often comes from people who worry that frequent testing may be harmful. The finger prick can be uncomfortable, but daily glucometer use is common when medically indicated. The bigger issue is whether each test has a purpose. Testing without knowing what to do with the result can create anxiety; testing with a plan can provide useful feedback.
Common times your clinician may suggest testing
The CDC lists typical blood sugar testing times such as when you first wake up before eating or drinking, before a meal, two hours after a meal, and at bedtime. Some people may also need to check before or after physical activity, when sick, before driving, after treating a low, or when symptoms suggest a high or low reading.
A practical beginner schedule might include one or more of these patterns, depending on your care plan:
- Fasting check: First thing in the morning before food or drink.
- Before-meal check: Helps compare your baseline before eating.
- After-meal check: Often one to two hours after the start of a meal, if your clinician wants post-meal information.
- Bedtime check: Useful for some people who use insulin or have overnight concerns.
- Symptom check: Helps connect shakiness, sweating, confusion, unusual thirst, fatigue, or other symptoms with an actual number.
- Pattern check: Testing around a new meal, exercise routine, or medicine change can show how your body responds.
If your fingers become sore, ask your healthcare team about technique, lancet depth, rotating fingers, or whether alternative-site testing is appropriate for your situation. Do not reduce recommended testing simply because it is inconvenient without first discussing a safer plan.
Which Finger Is Best for a Glucometer?
There is no single best finger for every glucometer test. Many people use the side of any clean fingertip and rotate fingers to reduce soreness. Clinicians commonly prefer fingertip readings because they reflect blood glucose changes more quickly than some alternative sites, especially after eating or exercise. Mayo Clinic notes that readings from sites other than the fingertips may not be as accurate as fingertip readings in situations such as after a meal or during exercise.
The question Which finger is best for glucometer? is really about comfort and consistency. The side of the fingertip often hurts less than the center pad because it is less involved in touching and gripping. Many people avoid the thumb and index finger for routine checks because those fingers are used constantly, but comfort varies.
Use these fingertip tips to make testing easier:
- Rotate fingers. Avoid using the same spot repeatedly.
- Use the side of the fingertip. It can be less tender than the center pad.
- Warm your hands. Warmth can improve blood flow and reduce the need to squeeze.
- Let the lancet do the work. Increase depth only if you cannot get enough blood.
- Do not test on broken or infected skin. Choose a clean, healthy spot.
- Ask before using alternate sites. Forearm or palm testing may not be suitable when glucose is changing quickly.
Good technique is more important than chasing the perfect finger. If your reading seems inconsistent or you struggle to get enough blood, bring your meter to an appointment and ask a nurse, diabetes educator, pharmacist, or clinician to watch your technique.
Glucometer Patterns: What Time Is Blood Sugar Highest?
Blood sugar is often highest after meals, commonly around one to two hours after eating. However, The exact timing can vary by meal composition, digestion, medication, insulin timing, activity, stress, and individual physiology. ADA guidance notes that post-meal measurements are generally made one to two hours after the beginning of a meal, a time that often captures post-meal peaks in people with diabetes.
The question What time of day is blood sugar highest? does not have one answer for everyone. For one person, the highest reading may occur after breakfast. For another, it may happen after dinner, during illness, after poor sleep, or in the early morning due to hormonal changes. This is why a glucometer is most useful when readings are compared with timing and context.
If your clinician wants you to learn your personal pattern, they may suggest paired testing: check before a meal and again one to two hours after the meal starts. The difference between those two numbers can show how that meal affected you. Over time, your log may reveal that certain foods, larger portions, late meals, stress, or skipped exercise consistently lead to higher readings.
Available at Meddey
Compare active glucometer options for routine home blood glucose monitoring.
| Product Image | Product | Current Price | View |
|---|---|---|---|
 |
Accu Chek Active Glucometer Machine with 10 Strips Free | ₹1,011 | View product |
 |
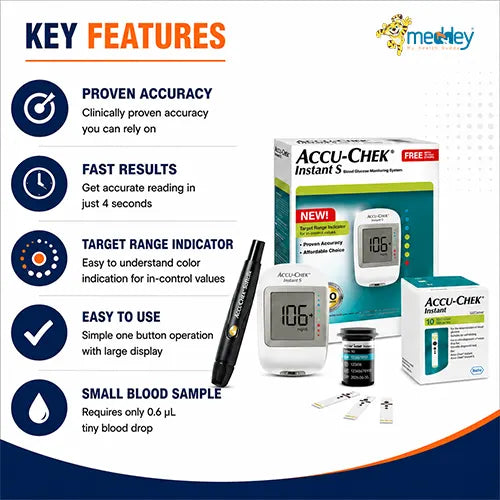
Accu Chek Instant S Glucometer with 10 Free Strips | ₹800 | View product |
Prices shown are current Meddey listings at the time of preparation and may change.
Choosing a glucometer without getting overwhelmed
Buying a glucometer can feel confusing because the market includes basic meters, app-connected meters, compact travel meters, and devices promoted as easy or painless. Some shoppers search for phrases like glucometer dr morepen , glucometer price , or best sugar checking machine because they want a familiar brand or an affordable option. Instead of focusing only on brand or price, compare the whole testing routine: meter cost, strip cost, strip availability, display readability, sample size, memory features, warranty, and whether support is easy to access.
The FDA explains that safe use and accuracy depend on multiple factors, including proper use of the device and test strips. That means the best glucometer is not just the one with the most features. It is the one you can use correctly and consistently.
Glucometer Features That Matter Most
A practical buying checklist
Before choosing a glucose meter or blood sugar tester, review these points:
- Strip availability: Can you easily buy the exact Glucometer test strips your device requires?
- Total monthly cost: Include meter, lancets, and recurring strips, not just the starting glucometer price .
- Ease of handling: Are the strips large enough for your fingers? Is the meter easy to hold?
- Display readability: Is the number clear in your usual lighting?
- Memory and logging: Does it store readings or help mark fasting and after-meal checks?
- Sample size: Does it need a large drop, or can it read a small sample?
- Support: Is the manual clear? Can you contact customer service if needed?
- Compatibility with your care plan: Does your clinician, pharmacy, or insurance plan recommend a certain meter or strip?
- Intended setting: A home meter is not necessarily the same as a hospital glucometer used in clinical settings.
If you are comparing a branded option such as glucometer Dr Morepen with another sugar testing machine, avoid assuming that a familiar name automatically means it is the best choice for you. Look at the cost and availability of replacement strips, how easy it is to use. Also, Whether the readings can be recorded in a way your healthcare professional can review.
Home Glucometer vs Hospital Glucometer
Manufacturers usually design a home glucometer for personal self-monitoring. Hospitals may select a glucometer for clinical workflows, infection-control processes, staff use, data systems, and policies for multiple patients. The FDA notes that blood glucose monitoring devices may be used in home and healthcare settings, but device labeling and intended use matter.
For beginners, the key lesson is simple: do not assume every meter is appropriate for every setting. A device cleared or sold for home use should be used according to its instructions. If you are a caregiver checking someone else’s blood sugar, ask a healthcare professional about safe technique, infection control, lancet disposal. Also, Whether the device is appropriate for assisted testing.
Hospitals also interpret readings within a larger clinical picture. They may compare meter values with laboratory tests, consider medications, IV fluids, acute illness, and other factors. At home, your glucometer is a monitoring tool, not a standalone decision-maker for major treatment changes.
Common beginner mistakes with a glucometer
Most glucometer problems come from small routine errors rather than the meter itself. Beginners often improve accuracy and confidence by tightening up technique. If your readings seem strange, review the basics before assuming something is wrong with your body.
Mistake 1: Testing with food residue on your fingers
Fruit, sweets, or even tiny traces of food on the skin can affect a finger-prick sample. Washing with soap and water and drying well is a simple but powerful step. You can use an alcohol wipe in some situations. Let the finger dry completely before testing.
Mistake 2: Using damaged, expired, or mismatched strips
A strip is part of the testing system, not a generic accessory. Using the wrong strip, an expired strip, a strip from a cracked vial, or one exposed to moisture can lead to unreliable results. The FDA advises against using test strips from cracked or damaged bottles and recommends following storage instructions.
Mistake 3: Squeezing Too Hard
A gentle massage can help form a drop, but forceful squeezing may affect the sample. If you often struggle to get enough blood, warm your hands, adjust lancet depth, or ask for technique coaching. Do not keep squeezing the same sore finger over and over.
Mistake 4: Comparing different meters too casually
Two meters can show slightly different numbers at the same moment. If you compare a home meter, a clinic meter, and a lab value, some difference is expected. Ask your healthcare team what level of variation is acceptable and what to do if your meter seems consistently off.
Mistake 5: Testing without recording context
A number without context is hard to use. A reading of 165 mg/dL may mean different things if it was fasting, one hour after a large meal, after exercise, or during illness. Record enough detail so your future self and your healthcare team can interpret the pattern.
Making sense of patterns instead of chasing perfect numbers
A glucometer is most helpful when you use it to learn patterns. One reading may be affected by a specific meal, poor sleep, stress, missed medication, or a testing mistake. Several readings taken under similar conditions can tell a clearer story. For example, if your after-breakfast reading is repeatedly higher than your after-dinner reading, that pattern may guide a conversation about breakfast choices, medicine timing, or activity.
A helpful log includes:
How to Log Glucometer Readings
- Date and time
- Reading and unit
- Whether it was fasting, before a meal, after a meal, bedtime, or during symptoms
- Food notes, especially carbohydrate-heavy meals or unusual portions
- Physical activity before or after the reading
- Medicines or insulin timing, if applicable
- Illness, stress, poor sleep, alcohol, or travel
- Any symptoms of low or high blood sugar
Bring this log to appointments. It can help your healthcare professional adjust your plan more safely than relying on memory. If you use an app-connected meter, review whether the app allows notes, meal tags, or exportable reports.
Glucometer versus CGM
A glucometer checks blood sugar at one moment with a blood sample. A continuous glucose monitor, or CGM, estimates glucose trends through a sensor worn on the body. CGMs show direction and trends, while a glucometer gives a finger-prick reading at the time of testing. The CDC explains that a CGM monitors glucose in real time and also notes that people may still need occasional fingerstick checks to make sure a CGM is accurate.
This does not make one tool universally better than the other. A glucometer is often simpler, less expensive to start, and widely used. A CGM can be valuable for people who need detailed trend information, but it may require training, sensor supplies, app setup, and insurance or affordability considerations. Many people use both: the CGM for trends and the glucometer for confirmation when readings do not match symptoms or when the care plan requires it.
Be careful with products that claim to measure blood sugar without a blood sample or inserted sensor. Use them only when regulators have cleared them and your healthcare professional recommends them. For diabetes decisions, accuracy and safety matter more than convenience.
Safety Tips for Everyday Glucometer Use
A glucometer becomes part of daily life for many people, so safety habits matter. Keep your meter clean according to the manual, store strips properly, and do not share lancets or lancing devices. If more than one person in a household uses a blood sugar monitor, each person should have their own supplies and a clear system to avoid mix-ups.
Use this quick safety checklist:
- Keep strips in their original container unless the manufacturer says otherwise.
- Close the strip vial immediately after removing one strip.
- Check the expiration date before testing.
- Keep the meter away from extreme heat, cold, and moisture.
- Use a new lancet as directed.
- Dispose of sharps safely.
- Wash hands before and after testing.
- Keep supplies away from children and pets.
- Call your healthcare team if readings are repeatedly outside your target range.
- Seek urgent help if you have severe symptoms, confusion, fainting, vomiting, or signs your care plan identifies as an emergency.
These habits are simple, but they protect the quality of your readings. They also make testing less stressful because your supplies are organized and ready when you need them.
When to ask for help with your glucometer
Ask for help if you are newly diagnosed, if your readings do not make sense, if your fingers are very sore, or if you are unsure how often to test. Diabetes self-management education can be especially useful because it teaches not only how to use a glucometer but also how to respond to patterns. The CDC encourages people who are newly diagnosed to ask about diabetes self-management education and support.
You should also ask for help if your meter repeatedly shows errors, needs more blood than expected, gives results that do not match your symptoms, or becomes hard to use because of vision, dexterity, or memory challenges. A pharmacist, nurse, diabetes educator, or clinician may be able to watch your technique and identify a simple fix.
Do not wait until an appointment if readings are dangerously high or low according to your care plan, or if you feel unwell. Your glucometer provides information, but symptoms and safety always matter.
Frequently Asked Questions
1. What is a glucometer used for?
A glucometer measures the glucose in a small drop of blood at a specific moment. People with diabetes use it to see whether their blood sugar is within their target range and to spot patterns after food, exercise, or medicine.
2. How do I use a glucometer at home?
Wash and dry your hands, insert a fresh compatible strip, prick the side of your fingertip with a clean lancet, touch the strip to the blood drop, and read the result. Follow your meter's manual, because steps vary slightly between models.
3. What is a normal blood sugar on a glucometer?
Many nonpregnant adults with diabetes are advised to aim for about 80 to 130 mg/dL before meals and under 180 mg/dL one to two hours after a meal. Your own target may differ, so confirm it with your healthcare professional.
4. Can we use a glucometer daily?
Yes, if your healthcare professional recommends daily testing. How often you need to test depends on the type of diabetes and your treatment plan, so follow your clinician's advice.
5. Which finger is best for a glucometer?
No single finger is best. Most people use the side of a clean fingertip and rotate fingers to reduce soreness. Many avoid the thumb and index finger because they do most of the gripping.
6. Why is my glucometer reading different from the lab?
Meters and lab tests use different methods, so small differences are expected. Dirty hands, expired or damaged strips, poor storage, and too little blood can also change a result. Repeat the test with a new strip and ask your care team how much variation is acceptable.
7. Can I use any test strips with my glucometer?
No. Strips are made for specific meters, so always buy the exact strip model your glucometer needs. Use unexpired strips from a properly closed vial.
8. When should I contact my doctor about glucometer readings?
Call your healthcare team if readings are repeatedly outside your target range, if you have symptoms such as shakiness, confusion, or unusual thirst, or if results do not match how you feel. Seek urgent help for severe symptoms.
Explore Medical Collections
All Categories
Abdominal & Maternity Support

Accessories

Accu-Chek Instant Strips: Use, Compatibility, Price & Blood Sugar Testing Guide
Accu-Chek Instant Strips: Uses, Features & Complete Guide

accupuncture

Acupuncture Needles & Supplies

Advanced Physiotherapy Machines & Lumbar Physiotherapy

Airways

Ambulance

Anatomy Models
Anesthesia Machine

Anesthesia Products
Ankle Support for Home Use: Braces, Sleeves & Walker Boots
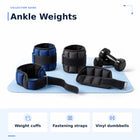
Ankle Weights & Exercise Weights for Home & Rehab

Anti-Bedsore Air Mattresses
You may also need
FOR YOURecommended for you
Save 13%
Save 8%
Save 8%
Save 9%