


Featured ChoiceSave 60%

Save 50%
Save 14%
Save 25%
Save 46%
Save 50%
Save 60%
Save 50%

Save 14%
Save 14%
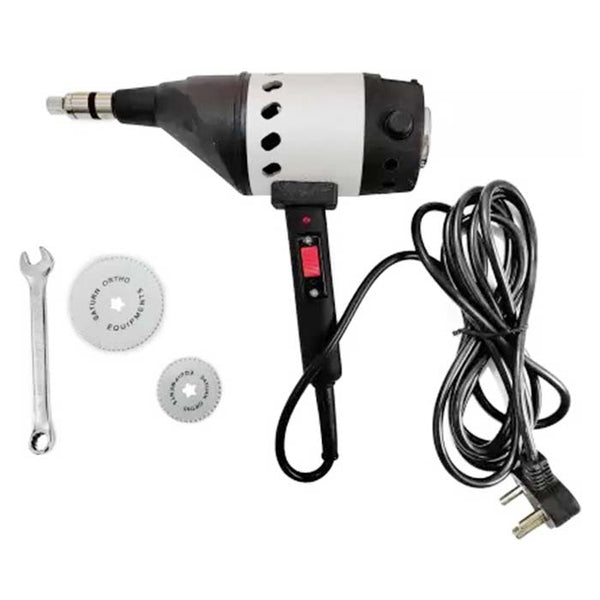
Surgical Instruments for Students: Types & Basic Set Guide
Surgical instruments for Students and Home Practice: Types & Basic Set Guide
Surgical instruments can feel intimidating at first, but for students, trainees, and skill-practice learners, the goal is simple: understand what each tool is called, what it is generally designed to do, and how to care for it responsibly. This guide explains common surgical instruments in plain language, with a focus on study kits, simulation practice, and home-based skills practice on models—not use on people. You will learn how to think about a basic surgical set, stainless steel quality, safe blade handling, cleaning, and storage without getting into clinical procedure instructions.
Safety first: sharp tools require proper training, supervision, and safe handling practice before they are used in any real clinical setting.
What are surgical instruments?
Surgical instruments are specialized tools designed to help trained professionals cut, hold, grasp, clamp, probe, spread, or manipulate materials during medical and surgical work. Students and trainees usually study these surgical tools to build recognition, hand familiarity, and safe handling habits using practice pads, simulation models, lab materials, or classroom demonstrations.

In everyday language, you can think of them as precision tools. A scalpel handle holds a blade for controlled cutting. Surgical forceps help pick up or hold small materials. Surgical scissors cut specific types of material. A needle holder grips a suture needle securely during stitching practice on training models.
Because many surgical instruments look similar at first glance, beginners often benefit from learning them by function rather than memorizing names alone. Ask: does this surgical tool cut, hold, clamp, spread, scrape, or protect? That simple approach makes surgical instrument identification much easier.
What are the basic surgical instruments for students?
A basic surgical set for students usually includes a small group of tools that help learners recognize common surgical instrument types and practice safe handling on non-living training materials. The exact contents vary, but beginner-friendly sets often include forceps, scissors, a needle holder, a scalpel handle, and sometimes support items such as probes or clamps.

For home practice, the key is to choose surgical tools that match your learning goal. A student practicing identification may need a simple labeled set. Someone practicing knot-tying or suturing on a pad may focus on a needle holder, tissue-style forceps, and scissors. A trainee learning casting concepts may study tools such as a plaster cutter or cast spreader, but those should be handled with care and used only in appropriate training contexts.


A practical starter set may include:
- Scalpel handle — used to hold compatible practice blades securely for controlled cutting demonstrations on approved training materials.
- Surgical forceps — tweezer-like surgical instruments used to hold, lift, or grasp small items during practice.
- Surgical scissors — cutting instruments designed for different materials, depending on their pattern and blade shape.
- Needle holder — a gripping instrument designed to hold a practice suture needle firmly.
- Hemostatic-style clamp — a locking instrument used in labs to understand clamping mechanics and instrument handling.
- Probe or director — a blunt tool sometimes included for demonstration, identification, or guided learning exercises.
- Practice accessories — suture pads, synthetic skin, foam, gauze, cast padding, or other simulation materials, depending on the course.
This kind of set is not a substitute for clinical training. It is best used for naming surgical instruments, learning grip comfort, understanding tool design, and practicing with simulation materials where appropriate.
Common surgical instrument names and uses in plain language
Learning instrument names becomes easier when each surgical tool is connected to a simple job. Many beginners make the mistake of trying to memorize long lists without understanding the purpose behind the shapes. Instead, compare the jaws, handles, tips, locks, and blades. The design usually tells you what the surgical instrument is meant to do.
Scalpel handle
A scalpel handle is the reusable handle that accepts a disposable or removable blade. The handle provides control, while the blade provides the cutting edge. In student settings, a scalpel handle is often used for learning how handles and blade sizes fit together, how to identify the parts of the tool, and how to respect sharp edges.
Scalpel handles come in different sizes and patterns. Some are slim and pen-like, while others are heavier. For students, the main learning point is not speed or clinical technique; it is recognition, safe orientation, and blade awareness.
Never treat a scalpel handle casually. Even when it sits on a desk or tray, position it so the sharp edge stays visible, controlled, and clear of other items.
Surgical forceps
Surgical forceps are hand-held grasping tools that look somewhat like tweezers or small tongs. They hold, lift, position, or manipulate small materials. In student practice, surgical forceps often work with gauze, suture pads, synthetic tissue, or other classroom-safe materials.
Forceps can have teeth, smooth tips, serrated jaws, or fine points. Toothed forceps grip more firmly, while smooth or delicate forceps give gentler handling. The shape of the tip matters because it affects how the surgical instrument contacts the material.
Students should learn to identify forceps by looking at the tip, jaw texture, spring tension, and overall size. A fine pair of forceps is not the same as a heavier grasping forceps, even if both share the same basic tweezer-like shape.
Surgical scissors
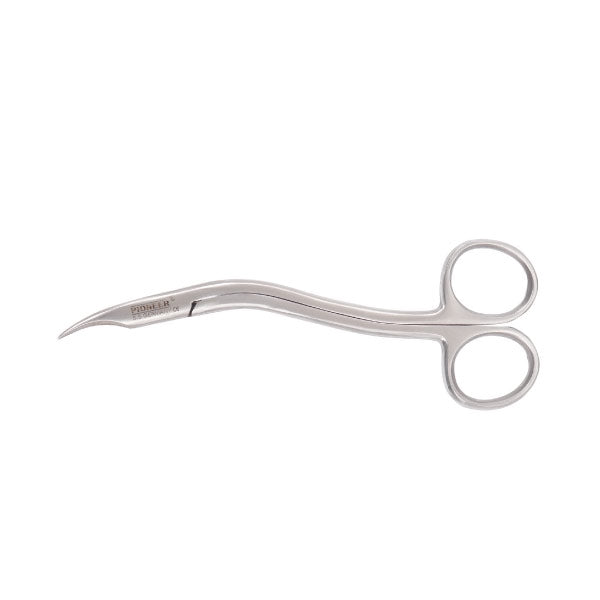
Surgical scissors are cutting instruments, but not all scissors are meant for the same kind of cutting. Some are delicate and fine; others are heavier and stronger. Some have straight blades, while others are curved. The curve, blade length, and tip shape all affect the general purpose of the surgical instrument.

For students, the most important lesson is that scissors are not interchangeable. A pair designed for cutting practice sutures may not be appropriate for thicker materials. Tough material can damage a delicate pair.
A common beginner question is, “What is the difference between forceps and scissors?” Forceps grasp or hold materials; scissors cut materials. Forceps usually have opposing jaws without cutting edges, while scissors have sharpened blades that cross to cut.
Needle holder
A needle holder is a clamp-like surgical instrument designed to grip a suture needle. It often looks similar to a hemostat or locking clamp, but its jaws hold a needle securely. Many needle holders have a ratchet lock near the handle, allowing the jaws to remain closed.
Students often confuse needle holders with clamps because both may have ring handles and a locking mechanism. The difference is usually in the jaw design. A needle holder has a shorter, sturdier gripping area intended to hold a needle, while clamps generally suit clamping or holding other materials.
In home practice, a needle holder commonly works with a suture pad under course guidance or with practice-only materials. Clean, dry, and store it carefully after use so the jaws remain aligned and functional.
Hemostatic-style clamps
Hemostatic-style clamps are locking instruments with jaws that close and hold. In clinical contexts, different clamp patterns have different roles, but students usually begin by studying the general design: ring handles, a ratchet, and jaws with serrations. The ratchet lets the clamp stay closed until released.

For trainees, clamps are useful for understanding surgical instrument mechanics. They teach how locking tools feel in the hand, how jaw pressure changes with each ratchet click, and how serrated jaws differ from smooth ones. This knowledge supports safer recognition and handling later in supervised environments.
Avoid using clamps as general-purpose pliers. Misusing them can damage jaw alignment, weaken the ratchet, or create rough areas that make the tool less reliable for study.
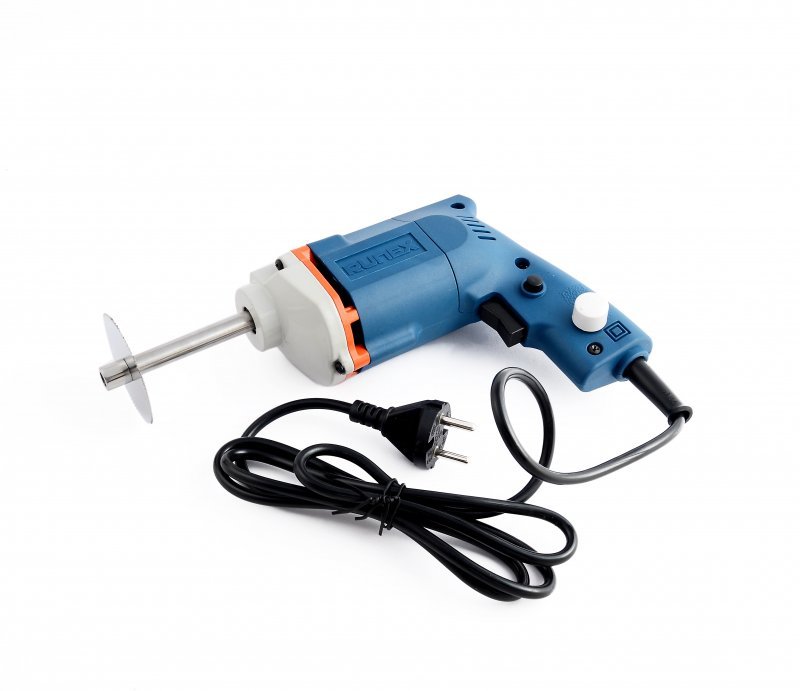
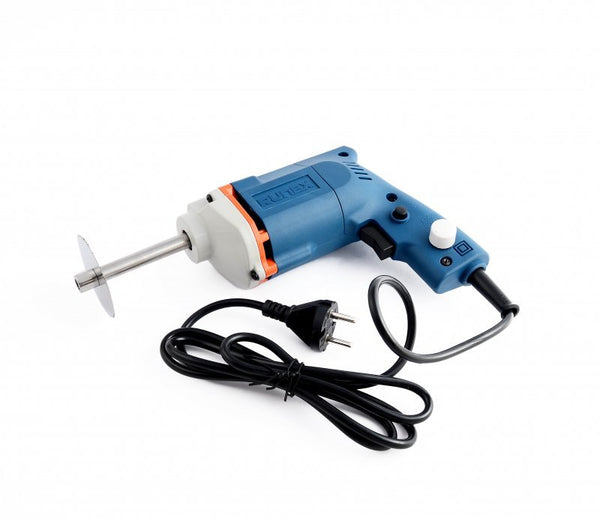
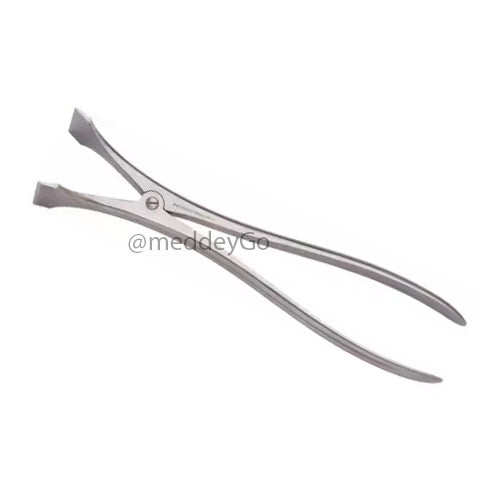
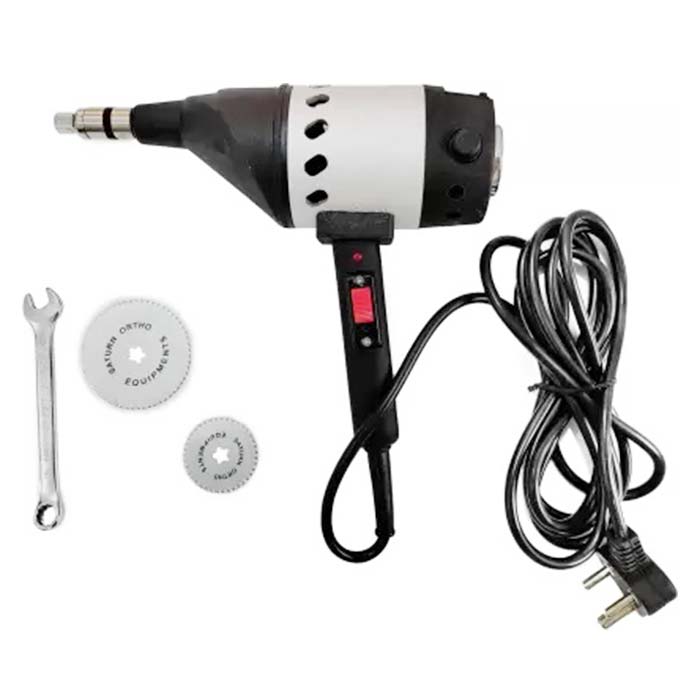
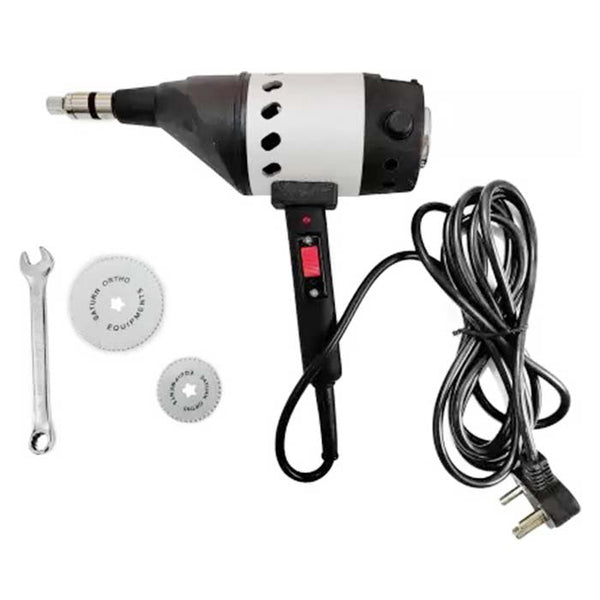
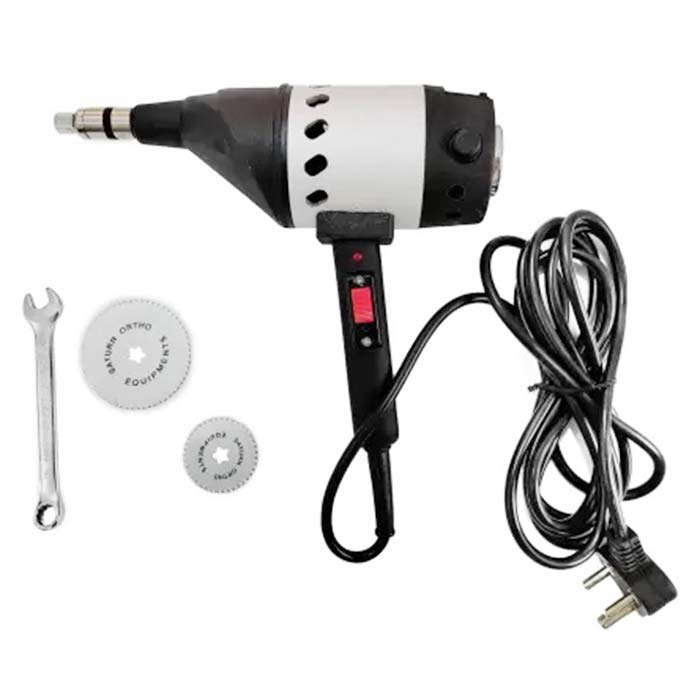
Plaster cutter
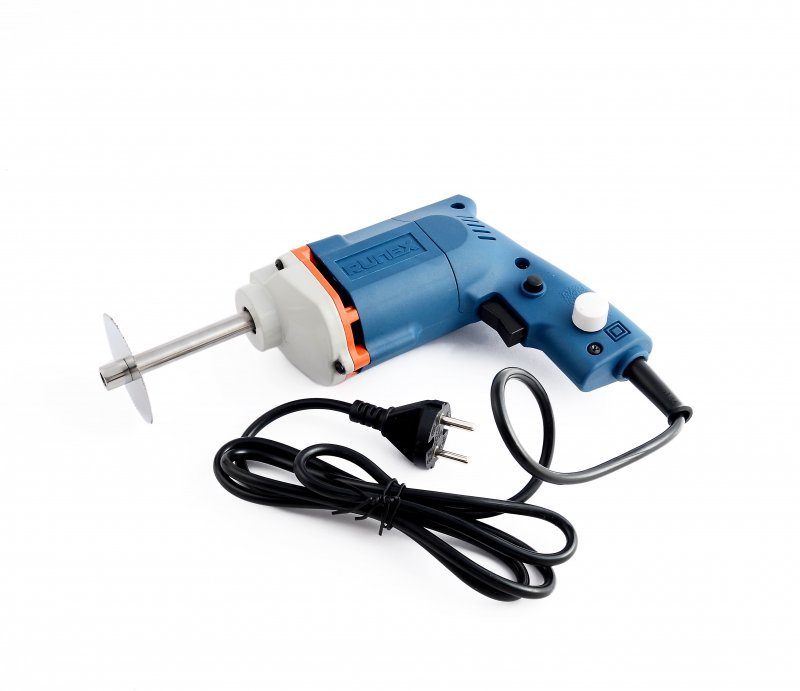
A plaster cutter belongs to cast and plaster material work. In student learning, you may study it as part of orthopedic or casting instrument awareness. Because cutting cast material can create dust, sharp fragments, or vibration, handle this tool only in appropriate training settings.


The key point for beginners is recognition. A plaster cutter is not the same as surgical scissors or a scalpel. It suits much tougher material than delicate surgical instruments can handle.
If your learning program includes cast tools, treat them as a separate category. They often require different safety precautions, storage space, and cleaning attention than small handheld instruments.
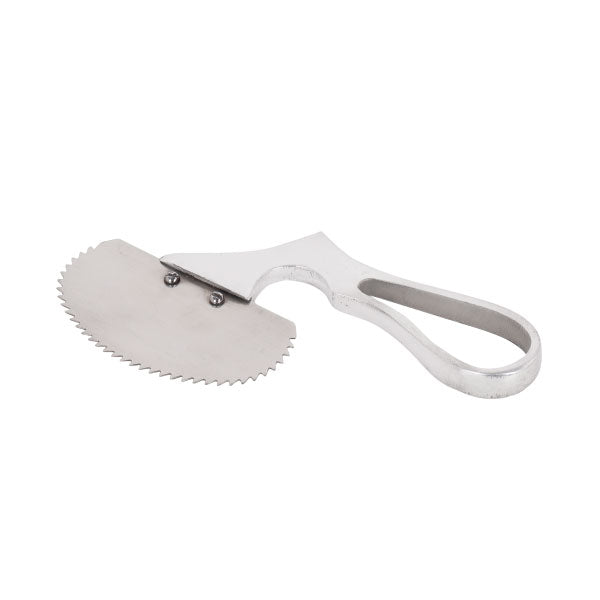
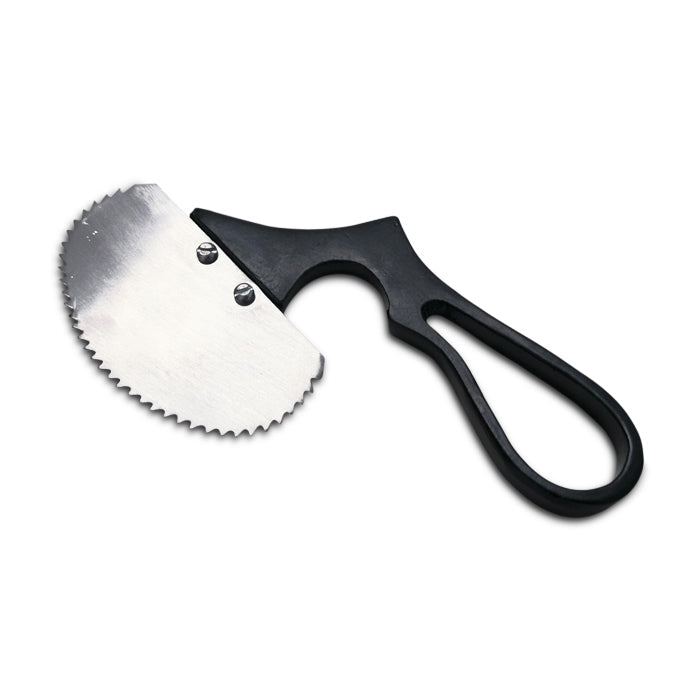
Cast spreader
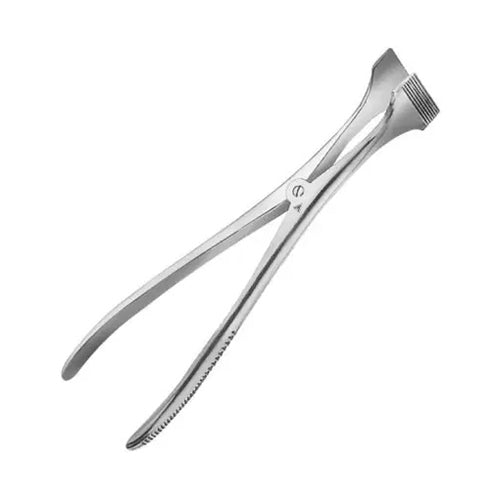
A cast spreader is a tool designed to help widen or open cast material after you cut it. Students may encounter it in orthopedic surgical instrument sets or casting labs. It is heavier and more mechanical than many basic handheld surgical instruments.

For home learners, a cast spreader is usually not necessary unless it is part of a specific supervised training module. It is included here because many students see it listed alongside a plaster cutter and want to know what it is. The simple explanation is that a plaster cutter cuts cast material, while a cast spreader helps separate or spread it.

As with all heavier tools, storage and handling matter. Keep it clean, dry, closed or secured when appropriate, and separate from delicate surgical instruments that could be scratched or bent.
Brief note on retractors and dissection kits
Retractors and dissection kits are related learning categories, but they belong to other pages and are not covered in detail here. In simple terms, retractors are surgical instruments designed to hold material aside, while dissection kits usually contain multiple tools for anatomy or lab study. Because each category has its own designs, safety concerns, and learning goals, they deserve separate focused guides.
Surgical instrument categories that help beginners stay organized
A student-friendly way to study surgical instruments is to group them by what they do. This makes it easier to identify an unfamiliar tool even when you do not remember the exact name. It also helps you build a sensible basic surgical set without buying surgical tools you do not need.

Here is a simple organizing framework:
| Category | Plain-language purpose | Common examples | Student learning focus |
|---|---|---|---|
| Cutting | Separates or trims material | Surgical scissors, scalpel handle with blade | Blade awareness, material matching, safe handling |
| Grasping | Holds or lifts small materials | Surgical forceps | Tip shape, grip pressure, control |
| Holding | Secures items in place | Needle holder, clamps | Jaw alignment, lock function, controlled release |
| Casting tools | Works with cast materials | Plaster cutter, cast spreader | Tool recognition, material-specific safety |
| Support tools | Assists with lab handling | Probes, directors, trays | Organization and identification |
This framework also helps prevent misuse. If you know a surgical tool suits grasping, you are less likely to use it for cutting. If you know a tool is delicate, you are less likely to apply force that could bend it.
How do you choose stainless steel surgical instruments?
You choose stainless steel surgical instruments by looking for clean finishing, smooth movement, appropriate weight, corrosion resistance, secure alignment, and a design that matches your learning purpose. For students and home-practice learners, quality does not always mean buying the most expensive set; it means choosing surgical instruments that are safe to handle, easy to clean, and durable enough for repeated practice on approved materials.
Stainless steel is popular because it is strong, relatively easy to clean, and resistant to rust when cared for properly. However, “stainless” does not mean stain-proof or maintenance-free. Surgical instruments can still corrode, discolor, pit, or stiffen if you expose them to harsh chemicals, leave them wet, store them poorly, or clean them incorrectly.
When comparing options, look for:
- Smooth edges and finish: Rough seams, burrs, or sharp unfinished areas can make handling uncomfortable and cleaning harder.
- Good jaw alignment: Forceps, clamps, and needle holders should meet evenly without twisting.
- Reliable hinge movement: Scissors and locking instruments should open and close smoothly without grinding.
- Appropriate instrument weight: A tool should feel stable, not flimsy, but it should not be so heavy that it becomes tiring for practice.
- Clear pattern description: Product listings should state what the surgical instrument is, such as Mayo scissors, tissue forceps, or needle holder, instead of vague labels only.
- Practice-appropriate sizing: Smaller is not always better. Choose sizes that match your course, hand comfort, and practice materials.
For a B2C buyer, a good student set should also be understandable. Clear photos, surgical instrument names, and simple descriptions are helpful because many beginners are still learning the difference between similar tools. If a kit does not explain what is included, it may be harder to study from.
Stainless steel quality in everyday terms
Stainless steel quality depends on the alloy, finishing, manufacturing consistency, and care. Some surgical instruments are made for professional clinical environments, while others are made for student practice, demonstration, or hobby-level simulation. The right choice depends on what you need the tool to do.
For students, a polished or satin finish can both be acceptable if the tool is well made. Polished surgical instruments may be easier to inspect visually, while satin finishes may reduce glare. What matters most is that the surfaces are clean, the jaws match, the tips are not bent, and the surgical instrument does not show obvious rust or flaking.
Be cautious with extremely cheap tools that arrive rough, misaligned, or stiff. They may frustrate practice and teach poor handling habits. A beginner does not need a large premium kit, but a basic surgical set should still feel stable and predictable in the hand.
Safe blade handling belongs at the center of practice
Blades deserve special attention because they can cause injury even during simple study sessions. A scalpel handle without a blade is generally much safer for identification practice, while you should treat any blade attachment or removal as a controlled task learned through proper instruction. If your course or program has safety rules, follow those rules first.

Sharp tools require training to handle safely. That line is worth repeating because many home learners underestimate how quickly accidents happen when a blade stays uncovered or loose, or lies mixed into a tray with other surgical instruments.
Good blade safety habits include:
- Keep blades covered, packaged, or secured until a supervised practice activity requires them.
- Never leave a loose blade on a desk, towel, tray, or inside a kit pocket.
- Do not test sharpness with your fingers.
- Keep the cutting edge pointed away from yourself and others during handling.
- Use a designated sharps container or approved disposal method for used blades.
- Store scalpel handles separately from loose blades whenever possible.
- Stop using any blade or handle that feels unstable, damaged, or improperly fitted.
These points are about general safety, not procedure. The goal for students is to build respect for sharp surgical instruments before more advanced training begins.
How do you clean surgical instruments?
If you are asking, “How do you clean surgical instruments?” the general answer for student practice is: remove visible debris promptly, clean with an appropriate mild solution, rinse if required, dry completely, inspect carefully, and store in a clean, dry place. Always follow the instructions from your course, kit supplier, or institution, especially if your surgical instruments touched biological material or regulated lab materials.
For home practice on non-living simulation materials, cleaning is usually about preserving the tools and keeping your study area tidy. Surgical instruments may collect lint, adhesive residue, practice-pad fragments, ink marks, or moisture. Leaving residue in joints or serrations can make the surgical instrument harder to use and harder to inspect.
A student-friendly cleaning routine may include:
- Sort surgical instruments by type. Separate sharp items, hinged tools, and delicate tips so they do not damage each other.
- Remove visible residue. Use a suitable soft brush or cloth for practice-material debris, especially around hinges and serrated jaws.
- Use mild cleaning products. Avoid harsh chemicals unless your training program specifically recommends them.
- Rinse when appropriate. If you use a cleaning solution, make sure residue does not remain on the metal.
- Dry thoroughly. Moisture left in joints, locks, or textured tips can encourage staining or corrosion.
- Inspect before storage. Look for rust, bent tips, loose screws, stiff hinges, or damaged cutting edges.
Do not soak surgical instruments for long periods unless the manufacturer or training program says to do so. Extended moisture exposure is one of the easiest ways to shorten the life of stainless steel tools. Also avoid throwing surgical instruments together in a sink or container, because tips and blades can strike each other and become damaged.
Cleaning is different from sterilizing
Students often use the words cleaning, disinfecting, and sterilizing as if they mean the same thing, but they do not. Cleaning removes visible residue and debris. Disinfection reduces many microorganisms on surfaces. Sterilization is a controlled process intended to eliminate all forms of microbial life.
For home study tools used only on synthetic practice materials, cleaning and safe storage may be the main concern. For any clinical, biological, or institutional setting, you must follow the required protocol from the supervising organization. Do not guess, improvise, or rely on casual online advice when regulated hygiene standards apply.
This distinction matters because a surgical tool can look clean without being sterile. It also matters because some cleaning methods can damage surgical instruments if used incorrectly.
Storage protects your tools and your hands
Good storage keeps surgical instruments organized, dry, and safer to handle. It also helps students study more efficiently because each tool has a consistent place. When surgical instruments are loose in a drawer, they can become scratched, bent, contaminated with dust, or dangerous to reach for.

A basic storage setup may include a hard case, roll pouch, tray with dividers, labeled compartments, or protective sleeves for delicate tips. Store sharp items so their edges stay covered. Heavy tools such as a cast spreader should not rest on fine forceps or delicate scissors.

Use these storage habits:
- Dry before storing: Moisture is one of the most common causes of staining.
- Separate sharp tools: Blades, scissors, and pointed surgical instruments should not scrape against other items.
- Protect fine tips: Forceps can bend if pressed under heavier tools.
- Label beginner kits: Labels support faster learning and reduce mix-ups.
- Keep practice tools away from children and pets: Even training instruments can be sharp or pinch.
- Avoid humid storage areas: Bathrooms, damp basements, and unventilated boxes are poor choices.
- Check periodically: Open the kit and inspect for discoloration, stiffness, or missing parts.
For students who practice regularly, a simple layout can make a big difference. Place cutting tools in one area, grasping tools in another, and holding tools in another. This turns your storage case into a study aid.
Matching surgical instruments to your learning goals
Not every student needs the same kit. A nursing student, medical trainee, veterinary student, dental trainee, emergency-care learner, or hobbyist practicing fine motor skills may all look at surgical instruments for different reasons. The best set is the one that supports your immediate learning objective without adding unnecessary complexity.
Before buying, ask yourself what you need to learn first. If your goal is surgical instrument recognition, a labeled selection with clear variety may be better than a large unlabeled bundle. When your goal is suturing practice on a pad, a needle holder, appropriate forceps, and suitable scissors may matter more than having many clamps. If your goal is casting-tool familiarity, a plaster cutter and cast spreader may be relevant, but they are not essential for most basic surgical set needs.
A simple decision checklist:
- For identification practice: Choose a small set with clearly named instruments.
- Hand-control practice: Choose tools with smooth hinges, balanced weight, and comfortable ring handles.
- For suture-pad practice: Look for a needle holder, forceps, and scissors intended for practice materials.
- For tool-care learning: Choose stainless steel surgical instruments that you can clean, dry, inspect, and store easily.
- Casting awareness: Study plaster cutter and cast spreader tools separately and only in a safe training context.
- For advanced anatomy lab learning: Look to a dissection kit guide instead, because that category belongs on another page.
Very large sets often tempt beginners because they look complete. In reality, too many unfamiliar tools can slow learning. A smaller, better-understood set is often more useful than a crowded case of instruments you cannot name.
Details that make surgical instruments easier to study
Small design details can tell you a lot about a tool. Once you begin noticing them, instrument identification becomes less about memorization and more about observation. This is especially helpful when two tools look nearly identical at first.
Look at the handles first. Ring handles usually suggest scissors, clamps, or needle holders. Tweezer-style spring handles often suggest forceps. A flat metal handle with a fitting at the end may be a scalpel handle.
Then look at the tips or jaws. Fine pointed tips suggest delicate handling. Wider jaws suggest stronger grip. Serrations suggest holding power. Cutting edges indicate scissors or blades. A locking ratchet near the handle suggests the tool is meant to stay closed until released.
Finally, notice size and curve. Curved scissors or forceps may be designed to improve visibility or access in certain contexts, while straight tools may support direct handling and cutting. For students, the goal is not to memorize every variation immediately, but to build a habit of observing shape and purpose together.
Common beginner mistakes to avoid
Students often learn faster when they know what not to do. Most mistakes come from treating surgical instruments like ordinary household tools. They may look simple, but many are precision items with aligned tips, sharpened edges, and moving joints.
Avoid these common errors:
- Using one tool for every task: Scissors, forceps, and clamps are not interchangeable.
- Cutting the wrong material: Thick, rough, or inappropriate materials can damage delicate surgical scissors.
- Leaving tools wet: Stainless steel can still stain or corrode if moisture sits on the surface.
- Mixing blades into the kit loose: Loose blades are a serious safety risk.
- Forcing stiff hinges: If a hinge does not move smoothly, inspect and clean it instead of applying excessive force.
- Ignoring bent tips: Misaligned tips make practice frustrating and can worsen with use.
- Buying oversized kits too early: A large set may create confusion if you have not mastered the basics.
A good practice environment is calm, clean, and uncluttered. Keep only the surgical instruments you are studying on the surface. Put everything else away so you can focus and reduce the chance of accidental contact with sharp or pointed tools.
A practical basic surgical set guide for home study
For B2C buyers, the phrase basic surgical set can mean many things. Some kits serve classroom identification, some serve suture-pad practice, some serve general first learning, and some serve display or demonstration. Read the contents carefully before purchasing, and make sure the set matches your course or personal learning plan.

A balanced beginner set might include:
Core recognition tools
These are the surgical instruments that help most beginners build a foundation. A scalpel handle teaches blade-holder recognition and safe orientation. Surgical forceps teach grasping-tool differences. Surgical scissors teach cutting-tool identification. A needle holder teaches the difference between a gripping instrument and ordinary scissors or clamps.
Together, these tools give students a clear picture of the main categories: cutting, grasping, and holding. They also support basic handling confidence on non-living practice materials.
Helpful support tools
Some sets include clamps, probes, trays, or practice sutures. These can be useful if they fit your learning goal, but they are not always necessary for a first purchase. A tray, for example, can improve organization, while a probe may help with recognition in a lab context.
Support tools should not distract from the basics. If you cannot yet explain what each core surgical instrument does, spend more time there before expanding the kit.
Specialty tools to buy only when needed
A plaster cutter, cast spreader, or larger specialty instrument should be purchased only when it connects directly to your study needs. These tools take up more space, may require additional safety awareness, and are not part of every beginner set.

The same principle applies to retractors and dissection kits. They are important categories, but they belong to other pages and should be studied separately rather than squeezed into a beginner guide.
Quality signs when your surgical instruments arrive
Once your surgical instruments arrive, inspect them before using them for any practice activity. This does not need to be complicated. You are simply checking whether the tools are clean, intact, and functional.
Use this arrival checklist:
- Confirm that each surgical instrument matches the product description.
- Check for visible rust, stains, cracks, or rough metal edges.
- Open and close scissors, clamps, and needle holders gently to feel for smooth movement.
- Look at forceps tips to see whether they meet evenly.
- Check scissors for obvious blade gaps, wobble, or poor alignment.
- Make sure a scalpel handle has no bent fitting, sharp burrs, or unstable blade slot.
- Verify that sharp items are packaged or protected safely.
- Clean and dry surgical instruments according to appropriate guidance before storage.
If a tool arrives damaged, do not try to repair it casually with household methods. Bent tips, rough edges, and faulty locks can create bad habits and safety risks. Contact the seller or follow the return process if the item is not suitable.
Building responsible practice habits
Responsible practice is not only about owning the right tools. It is about slowing down, staying organized, and respecting the purpose of each instrument. Students who build good habits early tend to feel more confident as training becomes more advanced.
Keep your practice area simple. Use a stable table, good lighting, and a clean surface. Work only with approved practice materials such as pads, foam, gauze, or models suitable for your learning activity. Do not practice procedures on people at home.
It also helps to keep a small study log. You can write down instrument names, what each one does, how it feels in the hand, and any care notes. Over time, this turns a simple kit into a practical learning system.
Final takeaway
Surgical instruments are easier to understand when you learn them by purpose: cutting, grasping, holding, spreading, or supporting practice. For students, trainees, and home skill-practice learners, a basic surgical set should be safe, manageable, clearly labeled, and appropriate for simulation materials—not real procedures at home.
Start with the essentials: a scalpel handle, surgical forceps, surgical scissors, and a needle holder, then add specialty tools such as a plaster cutter or cast spreader only when your training calls for them. Choose stainless steel surgical instruments with smooth finishing and reliable alignment, clean and dry them carefully, store them safely, and remember the most important rule: sharp tools require training to handle safely.
Explore Medical Collections
All Categories
Abdominal & Maternity Support

Accessories

Accu-Chek Instant Strips: Use, Compatibility, Price & Blood Sugar Testing Guide
Accu-Chek Instant Strips: Uses, Features & Complete Guide

accupuncture

Acupuncture Needles & Supplies

Advanced Physiotherapy Machines & Lumbar Physiotherapy

Airways

Ambulance

Anatomy Models
Anesthesia Machine

Anesthesia Products
Ankle Support for Home Use: Braces, Sleeves & Walker Boots
Ankle Weights & Exercise Weights for Home & Rehab

Anti-Bedsore Air Mattresses
You may also need
FOR YOURecommended for you
Save 60%
Save 50%
Save 14%
Save 60%
Save 25%
Save 46%
Save 50%
Save 50%
Save 14%
Save 14%